Nail art is not a passing fad. It is a style statement. Grooming your nails is as important as styling your hair! But most of us tend to simply ignore our nails, or at best simply apply some nail print. But why not try something different? Why not try some nail art?
Get in touch with your wild side with some cheetah nail art designs! Animal prints are in fashion this season. So it makes sense to combine the two. Cheetah nail art design is a very easy and popularnail art option. So, now you can sport cheetah spots on your nails and really make a growl!
Multicolored cheetah nails can also be created, which you can team with different colored outfits. Here is a simple cheetah nail design, which you can easily try out at home.
Cheetah Nail Art
Things Requi
Method of Applying Nail Art Cheetah Print:
Step 1:
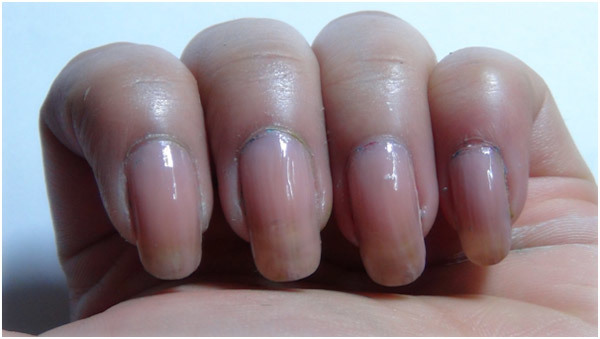
Paint your nails with 2 nice coats or a single layer of base coat. This is important, especially if your nails are prone to chipping or breaking. This also prevents nail stains from acrylic colors. Wait till the base coat is completely dry. Now use 2 layers of a skin colored nail polish. This will make the base more opaque.
Step 2:
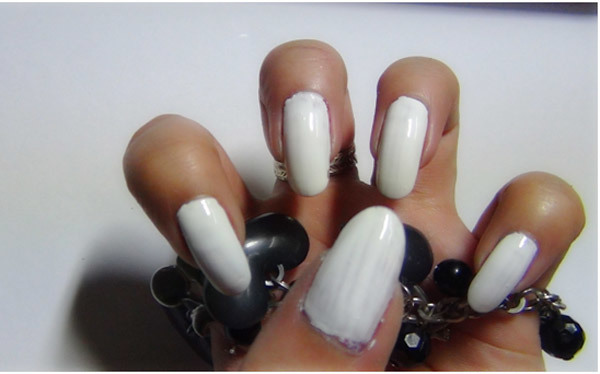
Now use the white polish. Apply at least 2 coats of white polish or till your nails become completely opaque.
Step 3:
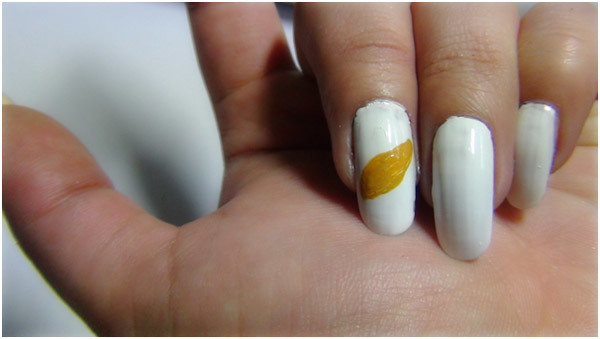
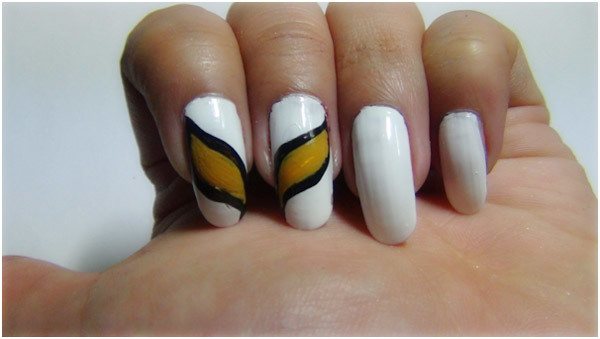
Now take the muddy yellow color and draw a shape like above. It should be a bit diagonal.
[ Read: Studs Nail Art Tutorial ]
Step 4:
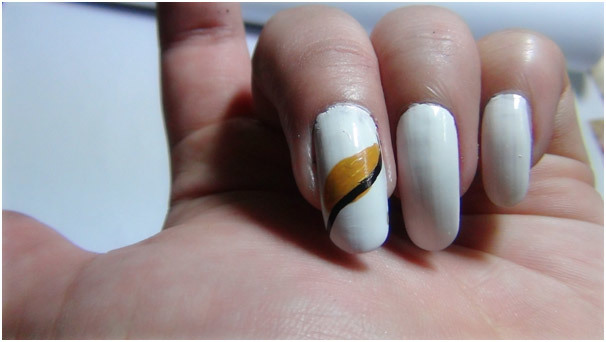
Now follow up the shape with a nail art brush and black acrylic paint to give it the shape of cheetah’s eyes.
Step 5:
Do the same for the next finger. It should look something like above.
Step 6:
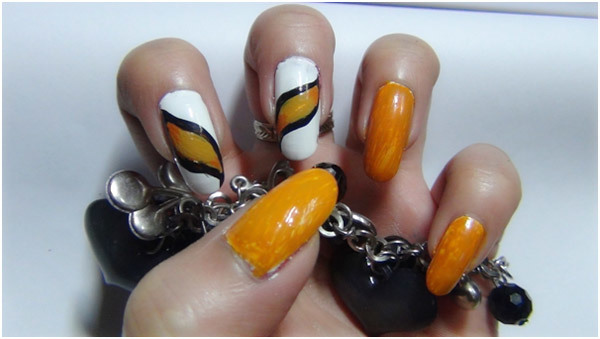
Now cover up the other nails with the same muddy yellow color. You can also use a bright orange colored nail polish or acrylic paint.
[ Read: Plaid Nail Art Tutorial ]
Step 7:
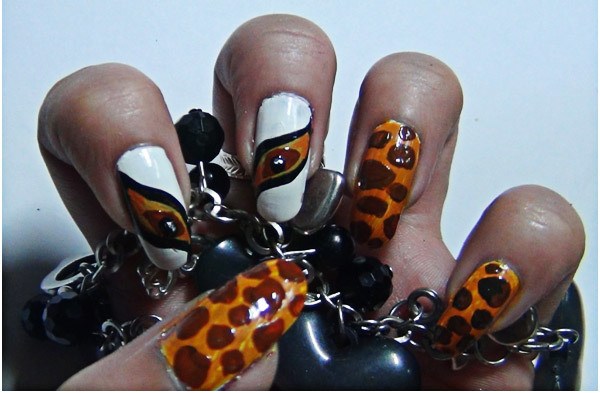
Now take your nail art brush and take brown colored acrylic paint. Use a dotting tool or just your nail art brush to make some uneven small and big cheetah prints. Also, use a big, diagonally stretched dot of brown for each of the cheetah eyes. Use another dot of black with black acrylic color at the centre of the brown mark. Use a very small bit of white on to one side of the black eyeball. This will make the eyes look more alive. This tiny white mark will represent the reflection of light in the eyes. When all these detailing are completed, it should look something like above.
Step 8:
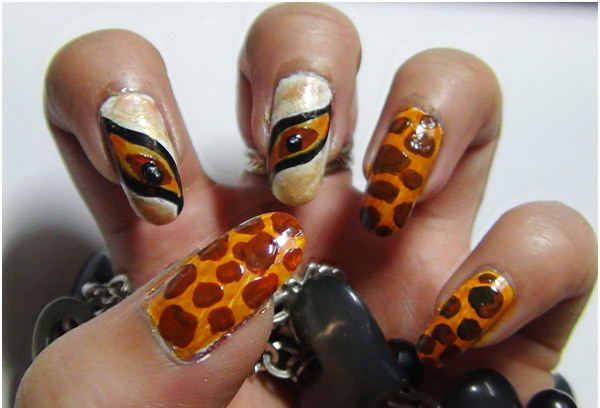
Now take the golden and metallic brown colored polish on to a palette. Use a small piece of sponge to sponge up the two colors on to the white areas of the two nails where you have drawn the eyes. It should look something like below. Let the whole design dry completely. When dried, seal up this awesome design with a nice layer of top coat.
[ Read: Glequins Nail Art Tutorial ]
Hope you enjoyed this cheetah nail art design. You can use just the cheetah prints as done on the 3 fingers above to create a normal nail art cheetah print. If you have time in hand, you can try out the cheetah eyes like I have tried to do. Animal nail art designs never go out of fashion.
Read More


.jpg)
.jpg)


